7 Steps: Prepare a Kansas City Rental to Rent
Preparing a Kansas City rental for its next tenant means completing repairs, deep cleaning, safety checks, and a documented move-in inspection before marketing the home. A reliable turnover process protects the property, improves applicant interest, supports Kansas and Missouri compliance, and helps the next resident move in with confidence.
What should you do first when preparing a Kansas City rental?
Start with a complete walk-through before scheduling vendors or listing the property. Take dated photos and note anything that is damaged, worn, unsafe, or simply below the standard you want for the next lease.
Use this initial inspection to create three categories:
- Required repairs: Safety, plumbing, electrical, heating, cooling, locks, leaks, and other issues that need attention before move-in.
- Turnover improvements: Touch-up paint, flooring repairs, fixture replacement, landscaping, or upgrades that improve presentation.
- Optional projects: Improvements that can wait until a future vacancy or fit within a longer-term maintenance plan.
If you own rentals from outside the area, a local property management team can coordinate this inspection and turnover without requiring you to travel to Kansas City.
1. Complete repairs and safety checks
A rental should be safe, functional, and ready for everyday use—not just visually clean. Test every major system and repair problems before showing the home.
Check the following:
- Smoke and carbon monoxide alarms, including batteries and placement
- Door and window locks, exterior lighting, handrails, and trip hazards
- Heating and cooling performance, filters, thermostats, and visible duct issues
- Plumbing fixtures, water pressure, drains, toilets, and signs of leaks
- Electrical outlets, switches, ceiling fans, appliances, and exposed wiring
- Roof, gutters, foundation areas, windows, doors, and visible moisture damage
Kansas City weather can be hard on roofs, siding, pipes, HVAC systems, and landscaping. Look for seasonal damage that may not be obvious during a quick showing. Addressing small issues now can prevent emergency calls after move-in.
Do not overlook pest evidence, water stains, musty odors, or recurring maintenance complaints from the previous resident. If a problem requires a licensed professional, schedule the work before advertising the property.
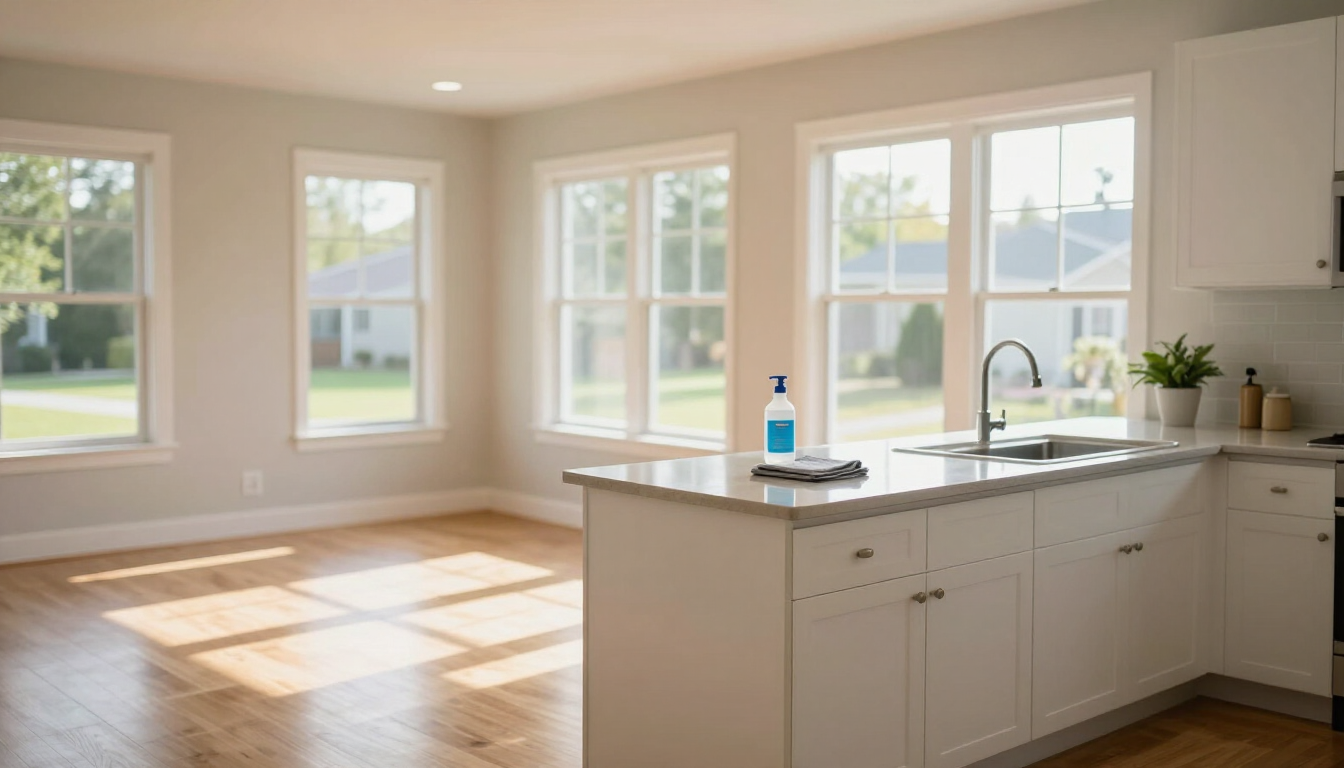
2. Deep-clean every room
Professional-level cleaning is one of the fastest ways to improve a rental’s first impression. Cleaning also makes it easier to identify damage and photograph the home accurately.
Clean or arrange cleaning for:
- Kitchen cabinets, counters, appliances, sinks, floors, and backsplash
- Bathrooms, including grout, tubs, toilets, mirrors, vents, and fixtures
- Baseboards, doors, trim, blinds, ceiling fans, and light fixtures
- Carpets, hard floors, stairs, closets, garages, and storage areas
- Windows, screens, patios, porches, and other exterior living spaces
Remove abandoned belongings, trash, odors, and signs of pests. Replace heavily stained carpet or damaged flooring when repair will not produce a clean, durable result. Neutral paint and consistent finishes usually photograph better and make the property easier for residents to personalize.
What should be repaired or replaced between tenants?
Prioritize work according to safety, function, durability, and return on investment. Not every cosmetic imperfection requires replacement, but visible neglect can reduce rent appeal and attract less qualified applicants.
A practical decision framework is:
- Fix hazards immediately. Resolve leaks, broken locks, electrical concerns, unsafe steps, and HVAC failures.
- Repair functional problems. Make sure appliances, plumbing, doors, windows, and lighting work properly.
- Refresh high-visibility areas. Focus on entryways, kitchens, bathrooms, living rooms, and exterior curb appeal.
- Replace only when needed. Choose durable materials when an item is beyond economical repair.
- Document the decision. Keep invoices, receipts, warranties, and before-and-after photos.
Avoid making upgrades based only on personal taste. Compare the likely rent increase, reduced vacancy, and maintenance savings with the cost of the project. A rental analysis can help you evaluate pricing and investment decisions before committing to larger improvements.
3. Improve curb appeal and outdoor areas
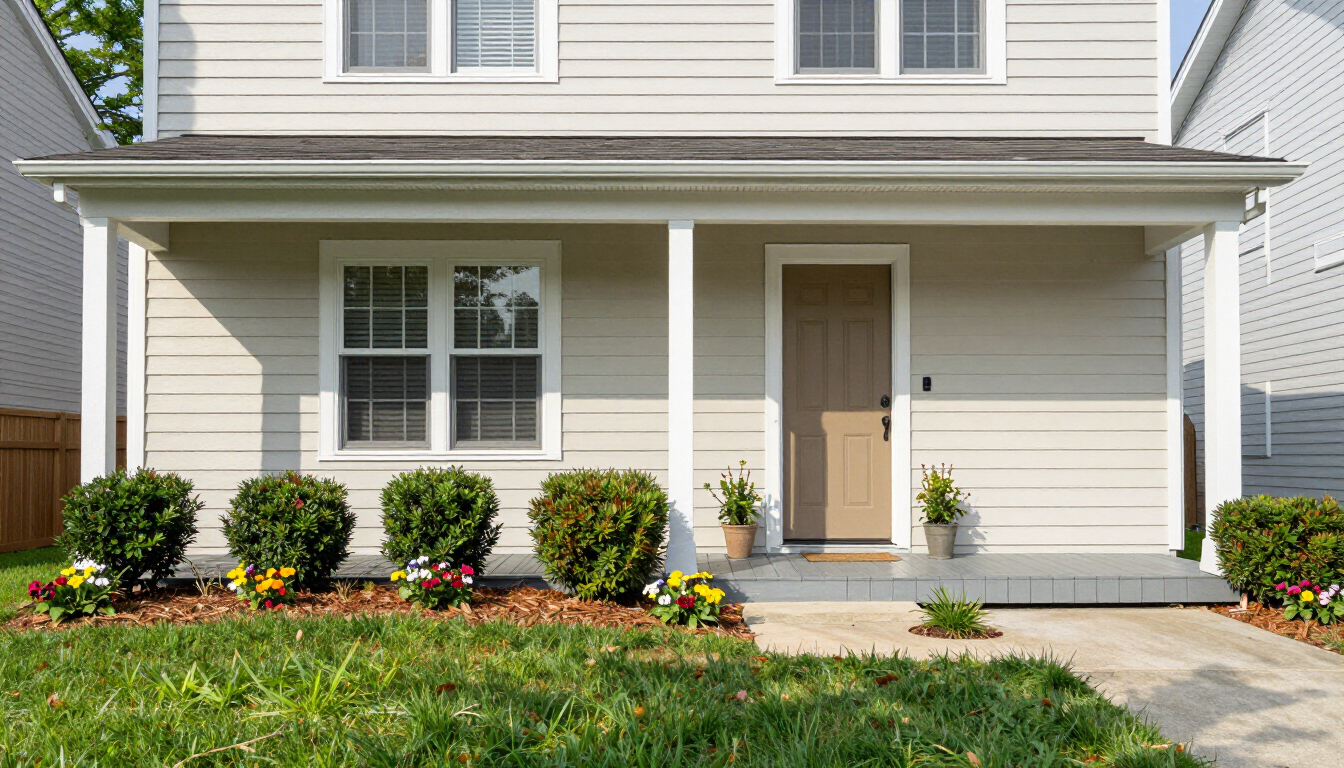
Prospective residents often form an opinion before opening the front door. Mow and edge the lawn, trim overgrown shrubs, remove weeds, clear walkways, and check that exterior lights work. Clean the porch, entry door, mailbox, garage, and visible windows.
In fall and winter, remove leaves and branches and check for icy or slippery areas. In spring and summer, inspect irrigation, fences, decks, patios, and drainage. Keep outdoor maintenance attractive but practical; low-maintenance landscaping can reduce future service calls and operating costs.
If the rental is in a neighborhood or homeowners association, confirm any landscaping, trash, parking, or exterior rules before listing.
4. Set a market-supported rent
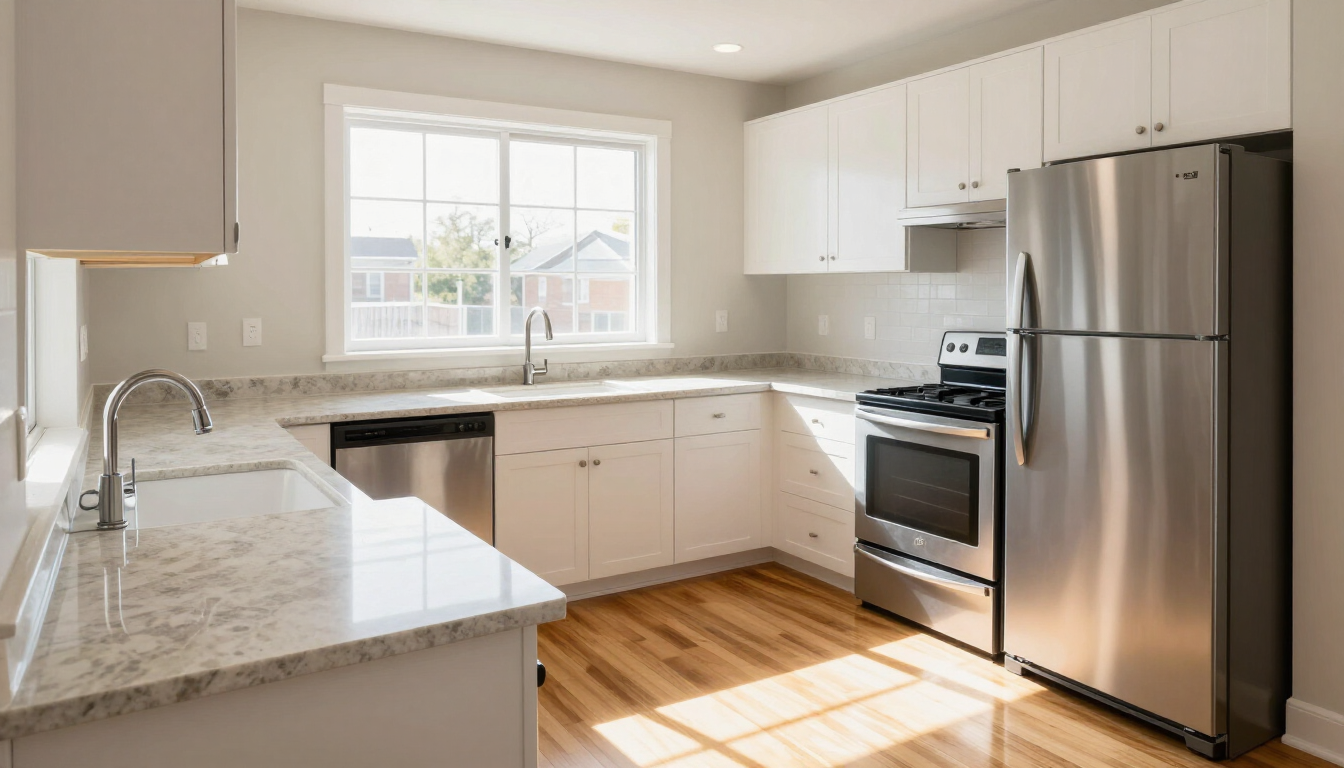
Pricing too high can increase vacancy; pricing too low can leave income on the table. Review comparable rentals with similar location, size, bedrooms, bathrooms, condition, amenities, parking, and included utilities.
Consider:
- Current competing listings, not outdated rental advertisements
- Recent leasing activity and seasonal demand
- Renovations, appliances, garage space, yard size, and pet policies
- Utility responsibilities, deposits, fees, and included services
- The cost of an extra week or month of vacancy
A strong rental listing should explain the value clearly rather than relying on a generic description. If you need a second opinion, compare your assumptions with local market services or request help through Contact .
5. Create accurate marketing materials
Take bright, well-composed photos after cleaning and repairs are finished. Photograph every major room, useful storage, parking, outdoor space, and distinctive features. Do not hide defects or use images that no longer match the property.
Your listing should state the rent, availability date, deposit and fees, lease length, pet policy, utility responsibilities, application requirements, and showing instructions. Clear information reduces unsuitable inquiries and helps qualified applicants decide faster.
Write for the resident’s practical questions: Is parking available? Is laundry on site? How close is the property to major routes, employment areas, schools, or shopping? Describe location accurately and avoid claims you cannot verify.
How can you prepare a rental for showings?
Before each showing, make the home feel clean, bright, and easy to imagine living in. Open blinds, turn on lights, adjust the temperature, remove trash, and secure valuables and sensitive documents.
Use a consistent showing checklist:
- Confirm the home is safe, accessible, and free of active maintenance hazards.
- Make sure all rooms, closets, appliances, and outdoor areas can be viewed.
- Remove personal items and signs of unfinished work.
- Check odor, temperature, lighting, and basic cleanliness.
- Give applicants accurate next steps for applying or asking questions.
Never enter an occupied rental without following the notice and access requirements in the lease and applicable law. Respecting the current resident helps protect the relationship and reduces avoidable disputes.
6. Screen applicants consistently
A ready rental still needs a reliable leasing process. Establish written screening criteria before reviewing applications, then apply the same standards consistently to every applicant. Criteria may address income, rental history, credit information, occupancy, pets, and identity verification, subject to applicable fair housing requirements.
Keep application records secure and communicate timelines clearly. If an applicant is declined or receives different terms based on information in a consumer report, follow required adverse-action procedures. Consistent screening protects the owner, supports fair treatment, and helps identify residents who are likely to meet lease obligations.
Owners who want a more hands-off process can review out-of-state owner support or learn about the company’s management fees .
7. Complete a documented move-in handoff
Before keys are released, complete a final inspection and record the property’s condition. Use dated photos and a room-by-room checklist covering walls, floors, ceilings, appliances, fixtures, windows, doors, exterior areas, and meter readings when applicable.
Provide the resident with practical move-in information, including:
- Key, garage remote, mailbox, and access instructions
- Utility setup and contact details
- Trash, recycling, parking, and community rules
- Maintenance reporting instructions and emergency procedures
- Required disclosures, lease documents, and move-in condition forms
Ask the resident to review and return the condition report within the required timeframe. Store copies with the lease and maintenance records. A thorough handoff gives both sides a shared baseline for future questions about damage, repairs, and the security deposit.
Kansas City rental turnover checklist
Use this short checklist before marketing the home:
- Repairs, safety devices, locks, HVAC, plumbing, and appliances tested
- Interior and exterior cleaned, including floors, windows, yard, and garage
- Damage and completed work photographed and documented
- Rent, fees, policies, and listing details reviewed against the property
- Move-in materials and inspection forms prepared
How long does rental preparation take?
A straightforward turnover may take several days, while larger repairs, contractor availability, permitting, weather, or deep cleaning can extend the schedule. Build time for inspections and quality control instead of promising an availability date before the work is complete.
The goal is not to finish as quickly as possible; it is to deliver a safe, clean, accurately represented home with fewer preventable maintenance issues after move-in. Owners can review services for help coordinating the process from inspection through leasing.
Final takeaway
Preparing a Kansas City rental for its next tenant is a step-by-step process: inspect first, complete safety and functional repairs, clean thoroughly, improve curb appeal, price from current market evidence, market accurately, screen consistently, and document the move-in condition. Use the checklist before publishing the listing, and allow enough time for quality control. If coordinating contractors, showings, applications, and resident communication is difficult from a distance, compare local management options and choose a process that protects the property while creating a smoother resident experience.
Recent Posts